Bathrooms are the rooms that age fastest — and the ones where a shortcut causes the most damage. A leak that seeps into a bedroom wall can ruin a new wardrobe next door.
Here is how to renovate a bathroom properly, step by step.
Step 1: Strip back and waterproof
A proper renovation removes old tiles and fittings down to the base. Replace old pipes while the walls are open, then apply a waterproofing membrane to the floor and to the walls — at least to shower height in the wet area. Test it by flooding the floor for a day or two before tiling. This step is invisible later, which is exactly why it must not be rushed.
Step 2: Plan wet and dry zones
- A glass partition or shower enclosure keeps water in the shower area.
- Slope the floor correctly towards the drain, and consider a linear drain in the shower.
- Keep the vanity, WC and dry floor area outside the splash zone.
Step 3: Choose tiles and fittings
- Floor tiles: anti-skid, ideally large-format to reduce grout lines.
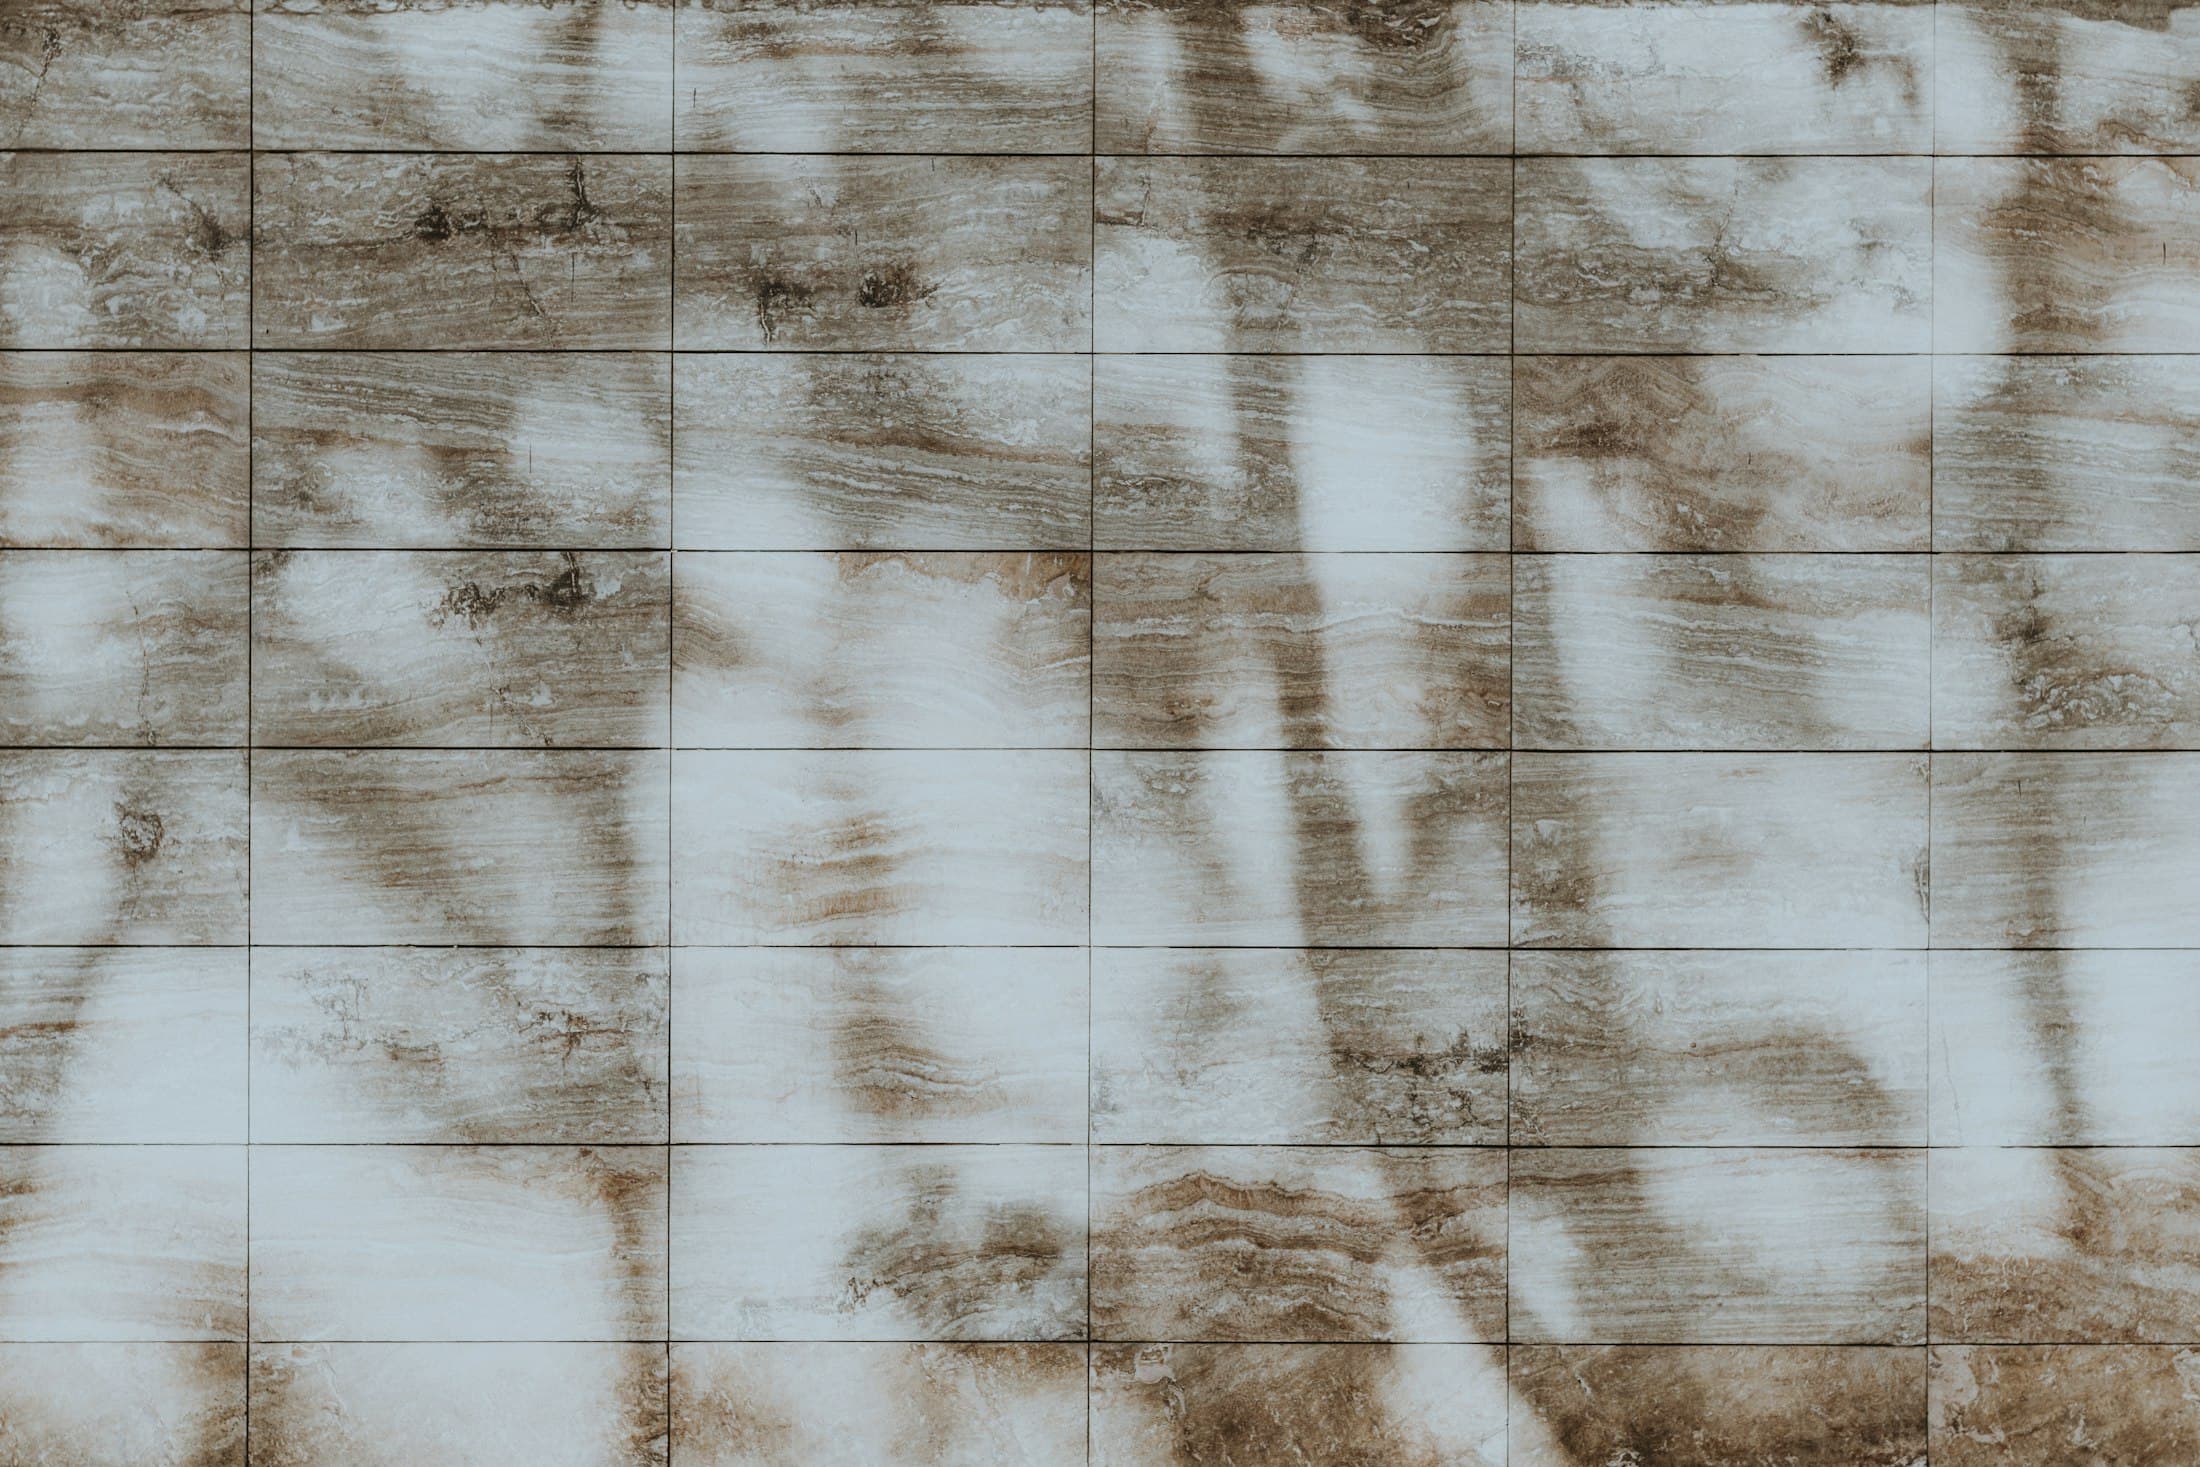
- Wall tiles: light colours make small bathrooms feel larger; a feature wall adds character.
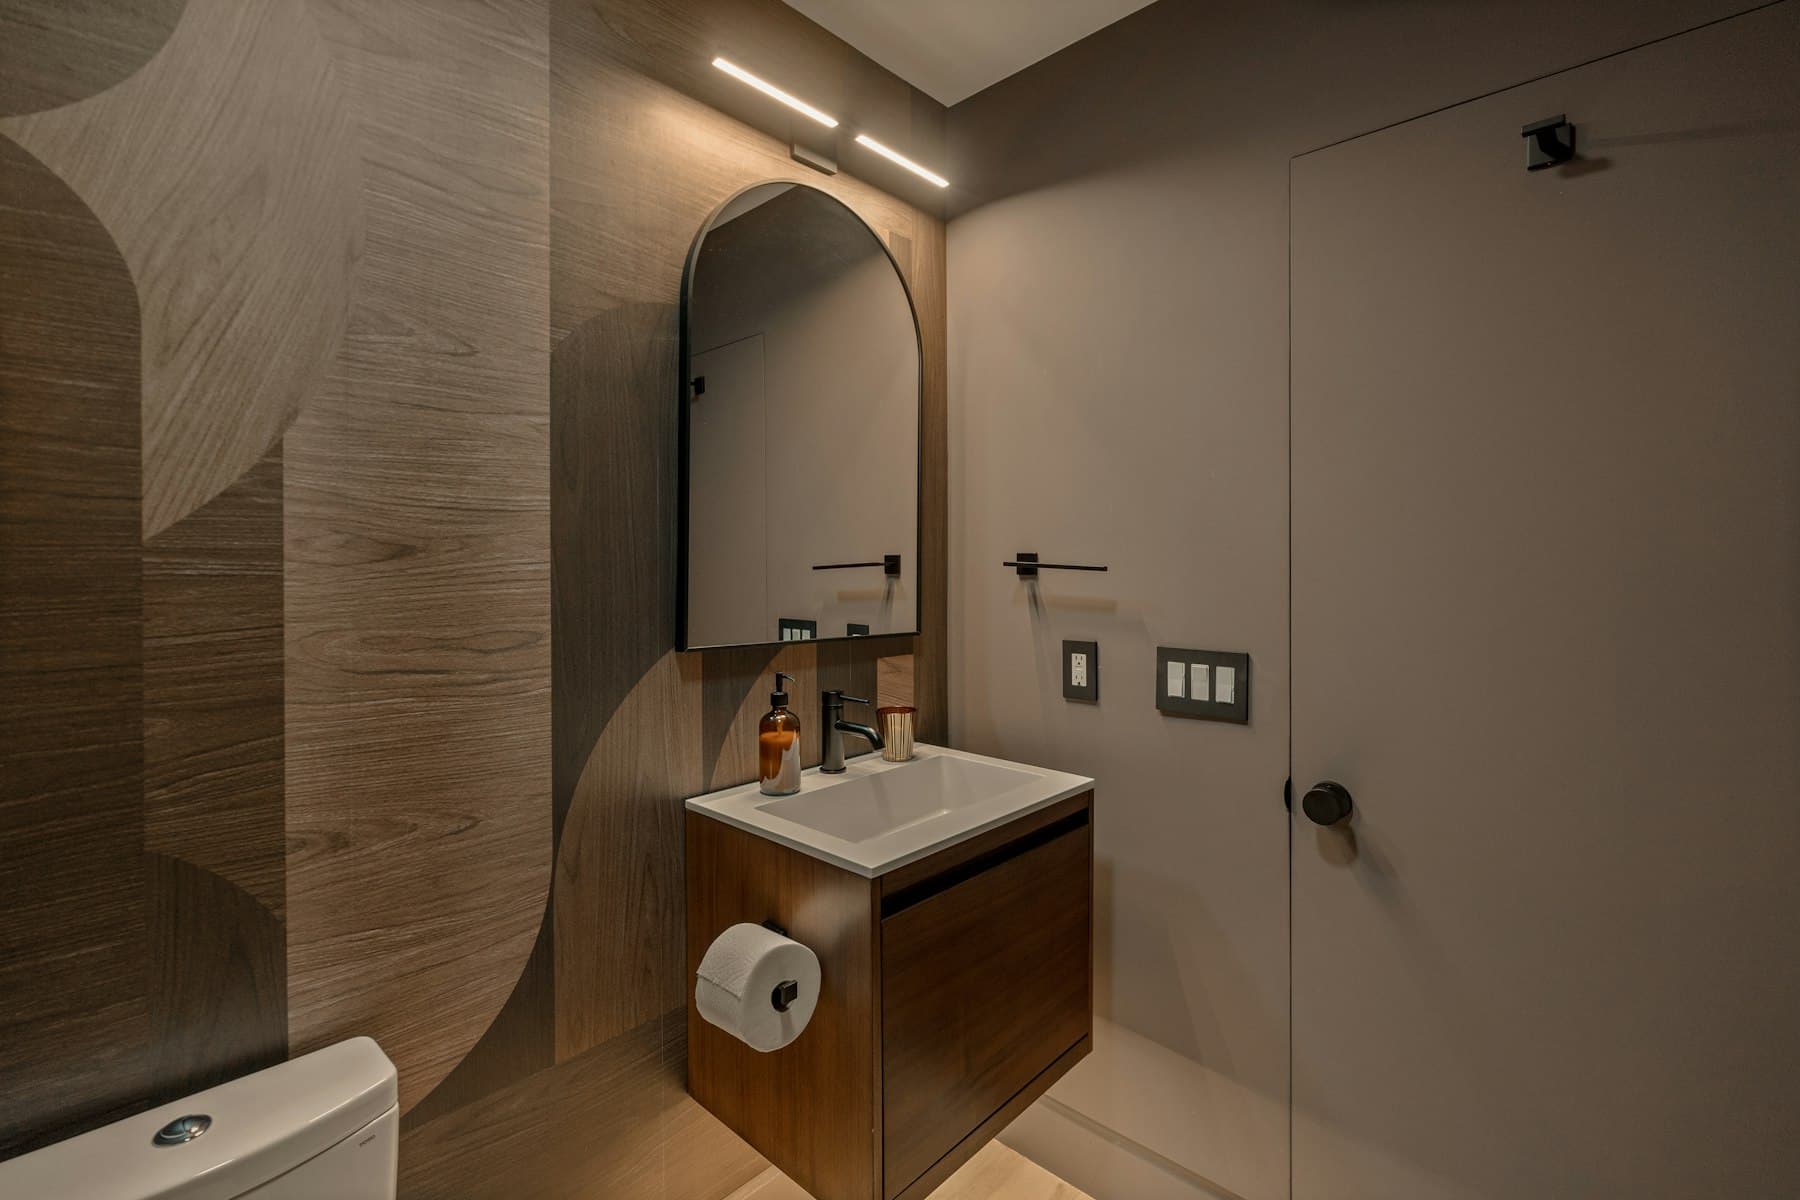
- Wall-hung WC and vanity: easier to clean under and visually lighter.
- Concealed cisterns and diverters: a cleaner look — but allow access for maintenance.
- Good-quality fittings: CP fittings take daily wear; this is not the place to save.
Step 4: Storage, light and ventilation
A vanity in BWP plywood (never particle board — see our board materials guide), a mirror cabinet and a niche in the shower wall keep toiletries organised. Use bright, even light at the mirror, warm light elsewhere, and an exhaust fan sized for the room. A PVC or moisture-resistant ceiling with an access panel hides the geyser neatly — see false ceilings.
What drives the budget
| Item | Budget impact |
|---|---|
| Size of the bathroom | Tiles, waterproofing and labour scale with area |
| Tiles | Wide range — from standard ceramic to large-format or designer tiles |
| Sanitaryware and CP fittings | Often the biggest single variable |
| Concealed systems | Add cost, but give a cleaner look |
| Glass partition | Moderate addition; worth it for a dry floor |
| Moving the WC or drain | Expensive in apartments — avoid if possible |
We estimate bathroom renovations after a site visit, because the condition of existing plumbing and waterproofing makes a big difference. For the rest of the home, see our renovation guide.
How long does it take?
A typical bathroom renovation takes 2–3 weeks: demolition, plumbing, waterproofing and testing, tiling, fittings and finishing. See bathroom design ideas or book a consultation.